Setting Up Monit
on an Azure Virtual Machine (VM)
Monit is an open source tool for monitoring and managing processes, programs, files, directories and filesystems. You can program Monit to execute actions for events such as the status of a running process or if your machine’s CPU consumption reaches a certain threshold. M/Monit is usually installed alongside Monit as it (according to the definition on mmonit.com) “builds on Monit’s capabilities and provides monitoring and management of all your Monit enabled hosts via a modern, clean and well designed user interface which also works on mobile devices.”
Installing Monit:
Step 1: Update Your System
Centos 7:
sudo yum install epel-release
sudo yum update
Ubuntu:
sudo apt update
sudo apt upgrade -y
Step 2: Install Monit Package
Centos 7:
sudo yum install monitUbuntu:
sudo apt install monitStep 3: Configure Monit
To configure Monit we need to open the main configuration file. This can typically be found at /etc/monitrc or /etc/monit/monitrc. In my example I have commented out the default values and set all values at the end of the file as it is easier to read, however you can replace the default values if you wish.
Step 3.1 Basic Settings
We can set the cycle (frequency) at which monit makes it’s checks (default is 30 seconds) and optionally set a delay after system boot or Monit start:
set daemon 30
	with start delay 240
Logging can be set as the default:
set log syslogor the location can be set to a standalone file:
set log /var/log/monitTo enable the web interface we need to set the following values which allows the admin to access the web interface from any network:
set httpd port 2812 and
    use address 0.0.0.0
    allow 0.0.0.0/0
    allow admin:monit      # change this value from the default
Step 3.2 Set Up Azure Mail Server (Optional)
For Monit to send emails for alerts we need to set the mail server configuration in the monitrc config file.
Set the email address that alerts will be sent to:
set alert example@email.comWe can change the email format using the default template:
## set mail-format {
##   from:    Monit <monit@$HOST>
##   subject: monit alert --  $EVENT $SERVICE
##   message: $EVENT Service $SERVICE
##                 Date:        $DATE
##                 Action:      $ACTION
##                 Host:        $HOST
##                 Description: $DESCRIPTION
##
##            Your faithful employee,
##            Monit
## }
You might want to change the from to whichever email will be used by your mail server:
set mail-format { from: example@company.com }If you already have a mail server set up you can replace the following values with your own:
set mailserver {host} port 587
    username "{username}" password "{password}"
    using tlsv12
    with timeout 30 seconds
SET TLS options{VERSION: AUTO}
If you would like to set this up with azure you can follow these steps:
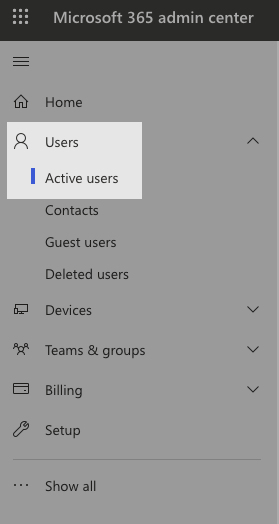
Open this link: https://admin.microsoft.com/
Go to Users > Active Users :
Either create a new user or select an existing user to use as the mailbox. Note that they must have Exchange Online access (typically included with a Microsoft 365 licence).
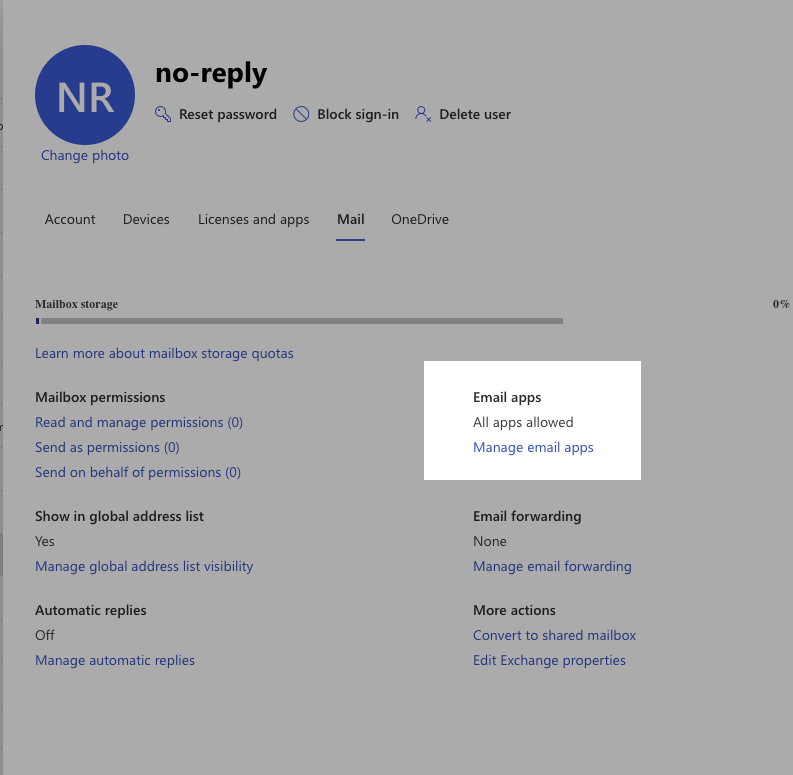
Select the User then select Mail > Manage email apps > Enable Authenticated SMTP
Now in our mailserver configuration for monit we can set the following values: host = smtp.office365.com username = azure email address e.g. no-reply@company.com password = azure user password
Step 4: Enable and Start Monit
Enable Monit to start automatically during system boot and start it:
sudo systemctl enable monit
sudo systemctl start monit